Bite By Daylight Survivor Tier List
Class rankings for escapes, saves, and Scrap-efficient unlocks in the BBD asym loop.
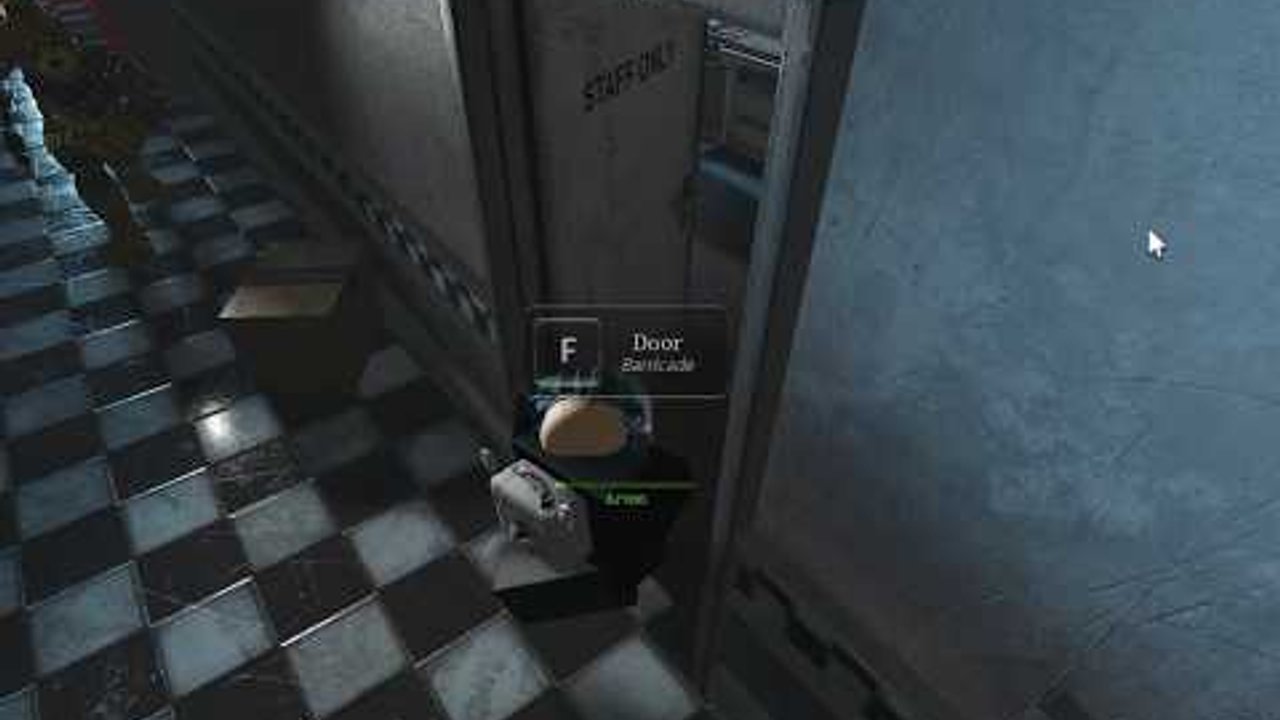
This Survivor Tier List ranks the five core classes in Bite By Daylight’s Bite By Night-style roster: Customer, Medic, Security Guard, Fighter, and Technician. Survivors win by finishing generators or batteries and surviving until 6 AM while one killer hunts the lobby. Rankings weigh escape contribution, chase tools, healing or information value, Scrap cost efficiency, and how playable the class is for newcomers on mobile.
Caveat: Bite By Daylight may miss some BBN characters or ship different numbers. Ability summaries are framed as shared with the Bite By Night-style kit that BBD recreates. Confirm the shop after reading Updates. Ability text lives on Survivors; killer answers are on the Killer Tier List.
Current survivor tiers
| Tier | Class | Role | Typical Scrap |
|---|---|---|---|
| S | Security Guard | Support / intel | ~1,100 |
| S | Medic | Healer | ~800 |
| A | Fighter | Stunner | ~1,350 |
| A | Customer | Survivalist | Free |
| B | Technician | Engineer | ~1,600 |
Letter grades assume public lobbies. In a five-stack with voice, Security Guard and Medic climb further; in chaotic solo queue, Customer’s self-sufficiency looks better than a Medic nobody peels for.
S-Tier — Security Guard
Security Guard combines a taser-style slow with camera information that reveals killer movement. Shared kit notes often list 100 HP, strong run speed, and solid stamina. The class wins games you never see on the kill feed: teammates leave gens at the right time because someone called the chase early.
Play when you have even one teammate who listens, or when The Project / The Doppelganger are popping off and the lobby needs vision.
Avoid when you refuse to use cameras and only hold taser for panic moments — then you paid mid Scrap for a worse Customer.
S-Tier — Medic
Medic is the cheapest power spike after the free Customer. Community pricing near 800 Scrap buys active heals, passive aura healing in many BBN-style builds, and overheal or shield patterns that keep Fighters taking aggressive peels. A living Medic turns one down into a full reset; a dead Medic turns a snowball into a 4K.
Play when your stack already has a stunner or intel class.
Avoid when everyone else also locked healers and nobody is on generators — heal bots still need objective progress before 6 AM.
A-Tier — Fighter
Fighter is the anti-killer class: Swing lunges for multi-second stuns, Parry negates a melee hit and banks resources for a stronger Swing. After balance passes that add stun immunity windows, Fighter drops from autopilot S-tier into a skilled A-tier — still excellent, but punishable if you whiff.
Play when you can track killer attack telegraphs and you enjoy body-blocking for Medics.
Avoid when you panic Swing into anti-stun states and feed free damage. Practice timing with How to Survive before you main it.
A-Tier — Customer
Customer is free and selfish in the best way. Pizza-style self-heals and drink-style speed bursts let you finish lonely generators while teammates collapse elsewhere. Shared stats usually sit around 100 HP with strong stamina. In solo queue, Customer often outperforms an unsupported Medic.
Play when you are learning the game (Getting Started) or when your randoms ignore callouts.
Avoid locking five Customers in a premade — you will miss heals, intel, and stuns that win late-clock fights.
B-Tier — Technician
Technician is the engineer disruptor: trap fields that slow or daze killers, plus phasing or mask tools that reposition through collision at a stamina or slow tax. Higher Scrap cost (~1,600) and higher mechanical demand keep it in B for most public lobbies, but coordinated teams that pre-place traps on Rotten loop tiles can make Technician look unfair.
Play when you already understand loop tiles and want creative denial.
Avoid as a second unlock — Medic or Security Guard usually refund Scrap value faster. Farm with Scrap farming first.
Suggested unlock order
- Customer (free) — learn objectives and stamina.
- Medic (~800) — cheapest team-wide impact.
- Security Guard (~1,100) — information wins patches.
- Fighter (~1,350) — once you can parry cleanly.
- Technician (~1,600) — specialty flex.
Cross-check killer pressure on the Killer Tier List so you know whether your next lobby needs peels or pure gens.
Team compositions that work
- Balanced pub stack: Security Guard + Medic + Fighter + Customer + flex
- Solo queue safe: Customer or Medic with disciplined gen commits
- Anti-snowball: double peel (Fighter + Guard) protecting one Medic
Related reading
- Class ability sheets → Survivors
- Survival habits → How to Survive
- Hub overview → Tier List Hub
- Inputs → Controls
Re-rank mentally after every patch. Stun immunity changes, heal number tweaks, and camera nerfs all shuffle these letters — the roles themselves stay evergreen.
Frequently Asked Questions
Quick answers to the most common Bite By Daylight questions.
What is the best survivor class?
Security Guard and Medic usually share S-tier for coordinated play. Customer is the best free solo-queue starter. Confirm live balance after patches.
What should I buy first with Scrap?
Medic is typically the best first purchase for team value, followed by Security Guard. See Scrap farming to fund them faster.
Is Fighter still strong after stun nerfs?
Yes, but skill-gated. Whiffed Swings are punished harder when killers gain stun immunity windows, which is why Fighter sits in A-tier rather than autopilot S.
Why is Technician B-tier?
Higher cost and higher execution make it less consistent in random lobbies. Premades that place traps well can still make it shine.
Where are full ability descriptions?
Open the Survivors roster page for kit details framed around the BBN-style systems BBD recreates.